
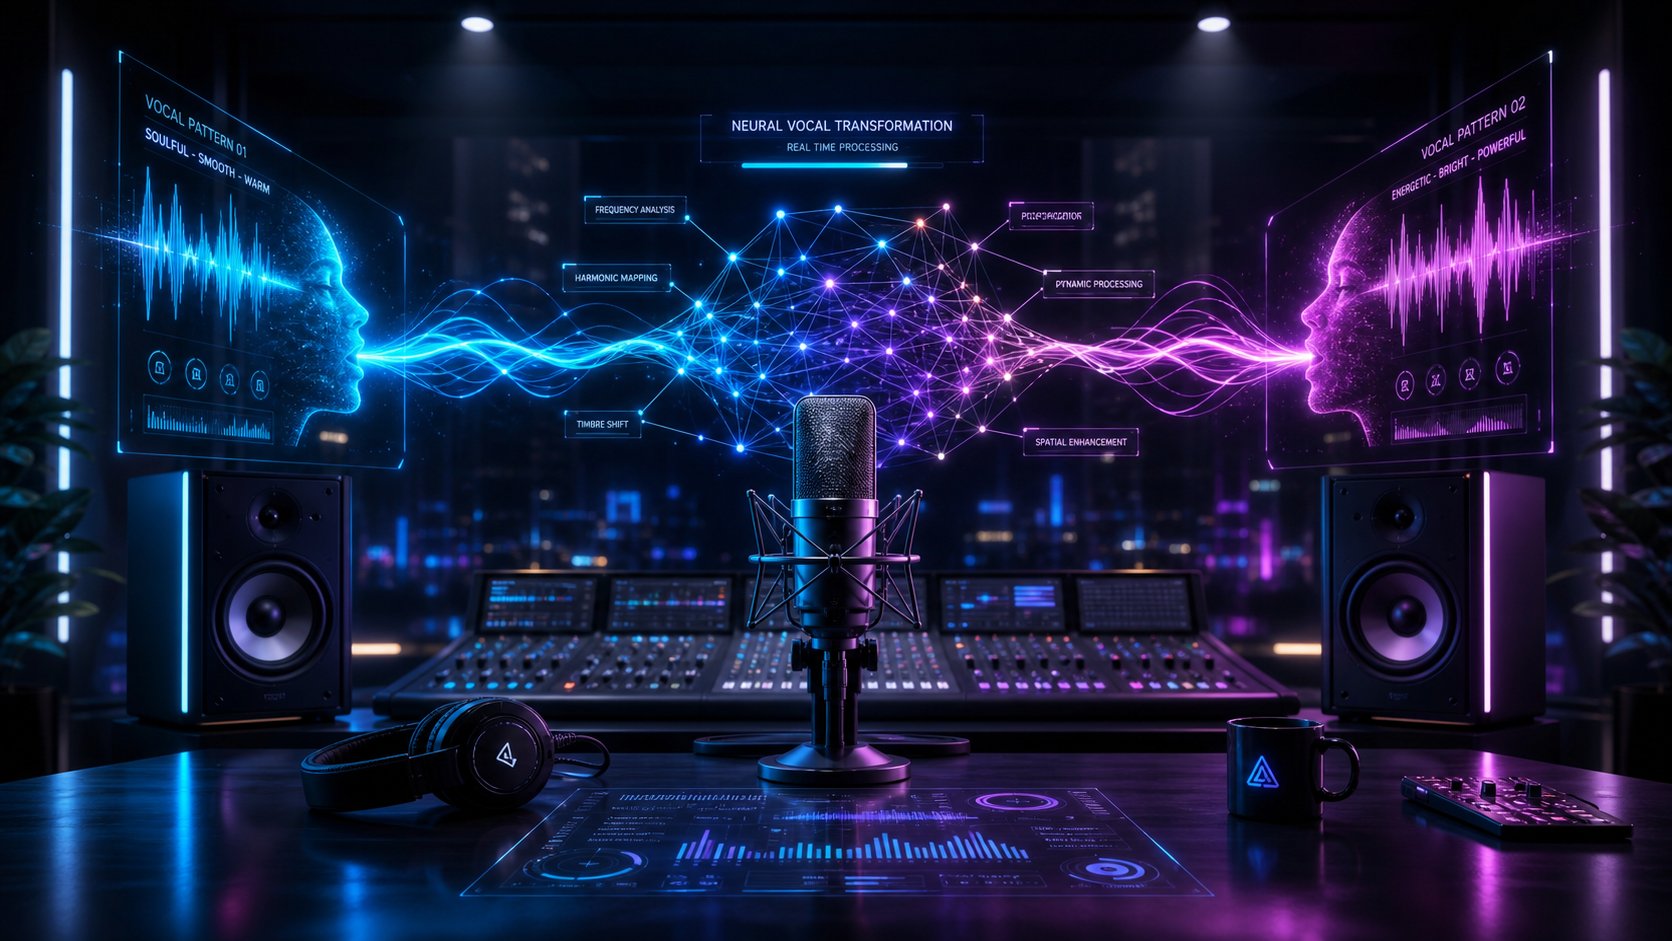
What Are AI-Based Music Covers and How Does This Technology Work
Imagine hearing Frank Sinatra sing a modern pop hit or SpongeBob sing a powerful ballad. This is the world we have entered. AI music covers are not science fiction. These are real audio recordings generated by neural networks that have learned to reproduce specific voices with remarkable accuracy.
What Is an AI Music Cover
An AI version of a song is a new interpretation of a composition where the original vocals are replaced with a synthetic voice generated by artificial intelligence, mimicking the voice of another performer. Unlike a human cover, where the artist reinterprets the song, the AI version preserves the exact melody, rhythm, and phrasing of the original performance, replacing only the vocal part. The instrumental part remains unchanged—only the voice is altered. The result can be so convincing that listeners struggle to distinguish it from the original recording by the target artist.
How Voice Conversion Technology Actually Works
The process of generating music using artificial intelligence follows a clear sequence of steps: an source audio file is input, vocal parts are extracted from the instrumental background, then a trained voice model processes this vocal data, resulting in a finished music track. The most popular platform underlying this process is RVC (Retrieval-based Voice Conversion), which treats voice conversion as a decomposition task—separating the content of the speech (or singing) from its speaker.
RVC uses a HuBERT-based content feature extractor to capture speaker-invariant information, such as phonemes and intonation. A pitch extractor called RMVPE handles fundamental frequency estimation, which is critical for singing. Then, a conditional acoustic model built on VITS reconstructs the audio in the target voice. The retrieval module adds a final layer of realism by extracting preserved vocal features from the target speaker's training data during generation, reducing any "timbre leakage" from the original singer.
Voice conversion is fundamentally different from text-to-speech (TTS) technologies. While TTS generates speech from text using pre-configured voice profiles, voice conversion allows you to change the sound of an existing vocal performance while preserving the original emotions, breathing, and musical expression—something that typed text cannot convey.
Why AI Covers Have Become Incredibly Popular
AI song covers have evolved from a niche experiment into a genuine internet phenomenon for several reasons. Thanks to the public release of RVC technology, any user with a computer gained access to professional-quality vocal conversion. The results were immediately shareable—they were fun and sometimes astonishingly quirky. Viral moments, such as the "Fake Drake" track and AI-generated versions of Stefanie Sun's songs, proved that this technology can deceive real listeners. Platforms like TikTok and YouTube became flooded with AI music versions—from mashups featuring celebrities to interpretations of anime characters—making AI music covers one of the fastest-growing creative trends on the internet. The barrier to entry dropped to almost zero, and creative possibilities seemed endless.
However, to achieve results that truly impress even the most devoted fans, simply pressing a button is not enough—it all starts with choosing the right source material.
Step 1: Choose the Source Song and Prepare the Audio Recording
The choice of the source song determines about half the quality of the final AI cover. If you feed the model a clean vocal recording, the conversion system receives rich, high-quality data to process. But if you input a noisy, illegal cassette recording of a live performance, no amount of post-processing will save the result. If you want to create AI covers that truly impress listeners, song selection and audio preparation must be carefully considered before starting work with any AI tool.
How to Choose a Song That Converts Well
Not every track is suitable for voice conversion. Songs with heavy vocal effects, such as autotune, distortion, or layered harmonies, create complexities that confuse most voice conversion models. Duets and tracks where background vocals blend with the lead are also problematic, as the AI attempts to convert every detected voice, often resulting in distorted artifacts. Altered AI's source file guidelines emphasize that recordings with strictly one speaker (or singer) at a time yield the best conversion results.
The ideal song for conversion starts with a track where the lead vocals stand out clearly against the mix. Think of studio pop, R&B, or acoustic recordings where the singer's voice is prominent, dry, and relatively unprocessed. Ballads and mid-tempo songs generally convert more cleanly than fast rap verses, simply because the model has more time per syllable to accurately reconstruct the target voice.
Audio Quality Requirements and Format Specifications
File format is more important than most beginners think. When you upload a song for AI voice conversion, the quality of the source file becomes a hard limit on the quality of the result. Here is what to look out for:
- High Bitrate: Use WAV (uncompressed) or FLAC (lossless compressed) files whenever possible. If you only have MP3s, ensure their bitrate is at least 320 kbps. Lower bitrates strip the model of the high-frequency vocal details necessary for accurate reproduction.
- Minimal Background Noise: Studio recordings in controlled environments outperform live performances, phone call recordings, or tracks ripped from low-quality YouTube streams. Background noise, reverb, and crowd noise degrade conversion accuracy.
- Clear Vocal Presence: The lead vocals should be the dominant element. In songs where vocals are buried under dense instrumentation, stem separation becomes more difficult, leaving artifacts in the isolated vocal track.
- Suitable Pitch Range: Choose a song whose vocal range comfortably fits within the range the target voice model was trained on. Excessively high or low frequencies outside the model's optimal range result in strained, unnatural sounds.
Professional producers working on AI song covers typically start with official studio stems if available. If you only have the full mix, that is acceptable too, but it is important to understand: each stage of signal processing between the original recording and your source file gradually reduces the potential quality of the result.
Matching Songs to Voice Models for Natural Sound
This is the step most people usually skip, and it is where the flaws in AI systems begin to show, sounding unconvincing at an amateur level. A deep baritone voice model applied to a soprano pop track will sound strained—no matter how sophisticated the technology used. Before finalizing your song choice, evaluate compatibility across three key parameters.
First, vocal range. If the original song is performed in a tenor range and your target voice model was trained on a tenor, you will require minimal pitch shifting, which preserves quality. Large pitch shifts (more than five or six semitones) lead to noticeable distortion. Second, tempo and phrasing style. A voice model trained on smooth R&B vocals will struggle with a staccato punk-rock delivery style. The rhythmic foundation of the source song should feel natural for the voice you are using. Third, timbral characteristics. Breathier voices pair well with intimate acoustic tracks. Powerful, belting voices suit anthem-like choruses. Matching the emotional depth of the song to the vocal personality of the model is what distinguishes a novelty clip from a truly convincing cover version.
Most AI audio processing platforms allow you to upload tracks and preview short snippets before full conversion. Use the preview feature as actively as possible—it can play a key role in selecting the right option. The process of uploading a song is simple, but true professionalism shows in the ability to choose the exact composition suitable for processing. Before investing time in post-production, be sure to test two or three options with the same voice model and compare the results.
After selecting a suitable source track and configuring it correctly, the next task is to clearly and accurately isolate the vocals from the rest of the mix.
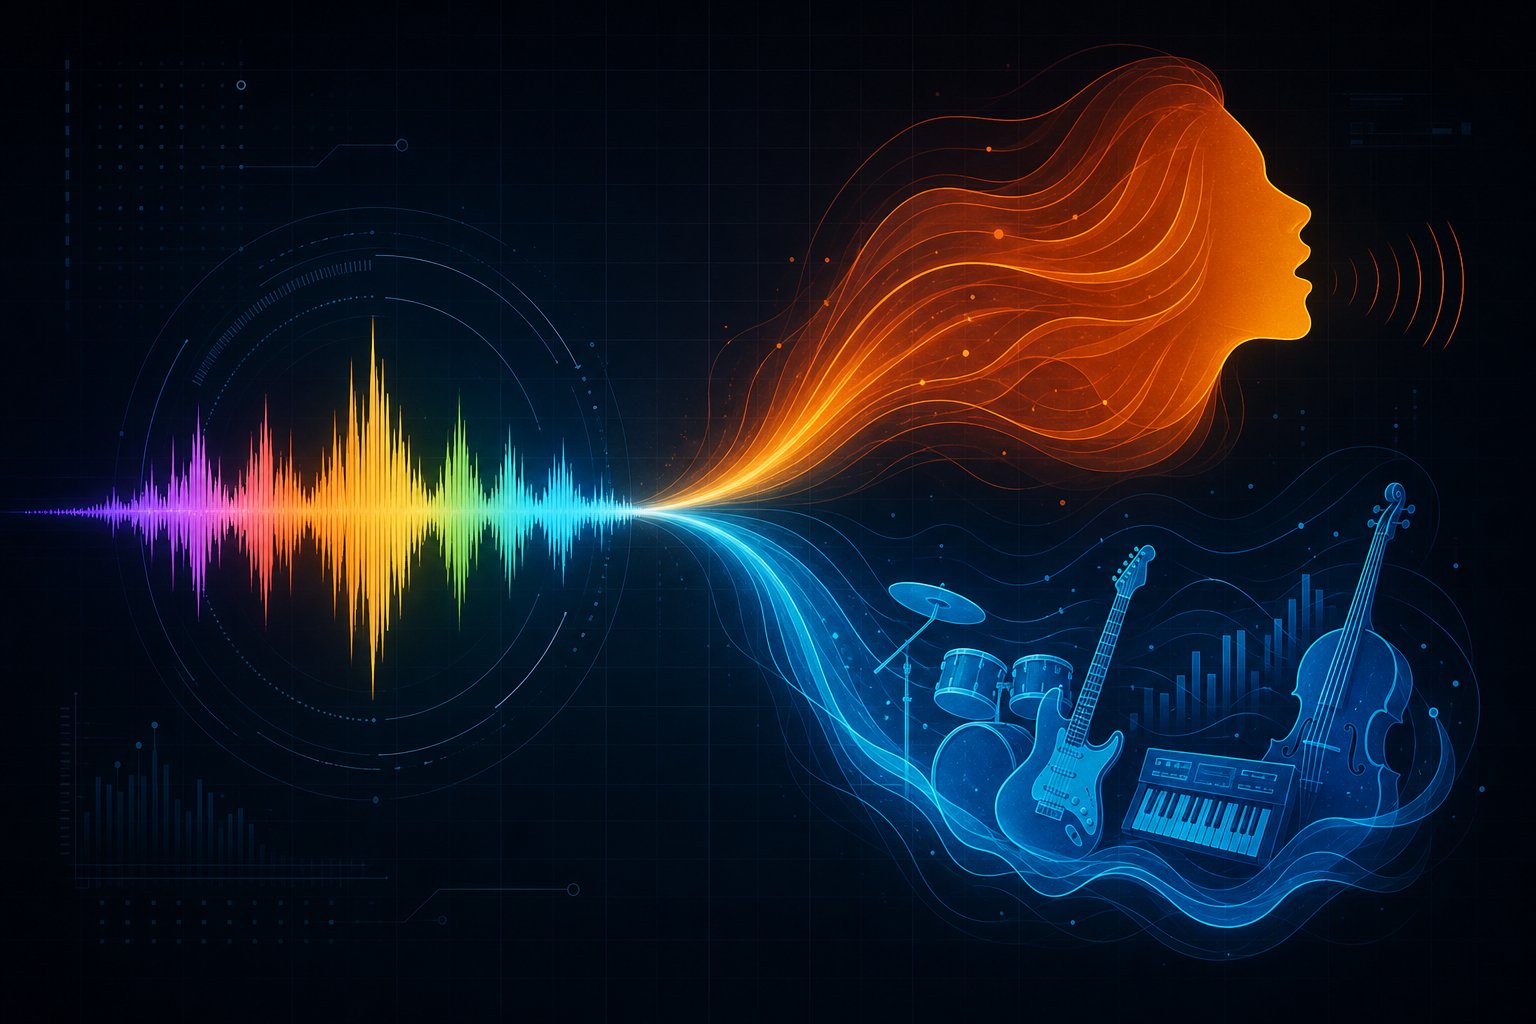
Step 2: Separating Vocals and Instrumental Accompaniment
Voice conversion models require a clean, isolated vocal track as input. If you feed a full musical mix with drums, bass, and guitars into the system, the AI will attempt to process all the sound, resulting in a distorted audio file filled with artifacts that does not resemble a real performance. Stem separation is a key stage that connects the original song to the final vocal file, and the quality of this processing directly determines how natural your AI-generated cover version sounds.
Why Vocal Isolation Is Crucial for High-Quality Sound
Think of it this way: a voice conversion model is trained to recognize characteristics of the human voice, such as timbre, formants, and pitch contour. When background instrumental sounds bleed into the vocal track, the model interprets these frequencies as part of the voice and attempts to convert them. This results in fluctuating artifacts, metallic distortion, and phantom sounds—all of which immediately reveal that the audio was generated by AI. Clean separation provides the model with exactly what it needs and nothing extra.
This stage also produces the instrumental part that you will need later. Once the AI generates the processed vocals, you will mix them with the same instrumental base to create the final cover version. If the separation of vocals and instruments is done carelessly, the background track will also suffer from phase distortions and frequency gaps. Good separation positively affects both components—the vocals and the instrumental part.
Free Stem Separation Tools—Use Them Today
You don't need expensive software to achieve high-quality results. There are many free and affordable tools that excel at extracting vocals, allowing you to create AI song covers with professional sound and flawless processing quality.
Ultimate Vocal Remover (UVR) is a free, open-source application available for Windows, macOS, and Linux. It offers several processing models, including MDX-Net mode, which, as shown by MusicRadar tests, provides exceptional and completely lossless vocal extraction quality. UVR also supports GPU acceleration for faster processing if you have an Nvidia graphics card. The trade-off is that its interface may seem complex, and installation on macOS requires workarounds due to Apple's security requirements.
Demucs, developed by Meta Research, is another free option that separates audio into vocals, drums, bass, and other tracks. It runs locally on your computer and delivers good results, although its standard four-track separation means that everything that isn't vocals, drums, or bass is combined into a single "other" category. For AI cover purposes, you mainly need the vocal track, so this limitation rarely matters.
Web-based versions like LALAL.AI and Moises.ai offer track separation without installing any software. LALAL.AI recognizes up to ten different instrument types and provides consistently high extraction quality, although its credit-based pricing means costs add up if you process many tracks. Moises.ai offers a broader set of tools for musicians but slightly lags behind specialized tools in vocal extraction. Both tools are ideal if you need quick results without setting up local software.
For those creating instrumental covers of pop songs as a starting point, these same tools provide a clean backing track to work with, whether you're using AI for vocals or just need an instrumental version for karaoke.
Helpful Tips for Getting the Cleanest Vocal Stems
Choosing the right tool is important, but how you use it matters just as much. To achieve the best results, follow this workflow.
- Start with the highest quality source file. Use WAV or FLAC instead of compressed MP3. Stem separators work with frequency data, and lossy compression removes precisely the subtle details they need.
- Select the highest possible processing depth. Tools like UVR and SpectraLayers offer quality settings that sacrifice speed for accuracy. Always choose the slowest but most thorough option if quality is your priority.
- Use the MDX-Net mode in UVR for vocal-only extraction. If you only need the vocal stem (which is the case for most AI covers), MDX-Net outperforms the Demucs mode in UVR and delivers cleaner, lossless results.
- Listen carefully before proceeding. Solo the extracted vocals and check for instrumental artifacts, especially in the low frequencies (bass bleed) and high frequencies (cymbal splash). If you hear obvious artifacts, try a different model or tool before moving on.
- Run a second pass if necessary. Some producers extract vocals using one tool and then run the result through a second separator to eliminate residual artifacts. This aggressive approach works well for dense mixes where instrumental traces remain after a single pass.
Note: Some integrated platforms for creating AI song versions automatically perform vocal and instrumental separation as part of their processing. If you are new and want to avoid using multiple tools, these platforms allow you to completely bypass this manual step and go straight to selecting a voice model. In exchange, you lose control over the separation quality, but for most simple AI cover projects, the built-in processing is more than sufficient.
Once you have a clean vocal track, the next decision defines the entire character of your song version: who will be singing the song.
Step 3: Find and Select an AI Speech Synthesis Model
The voice model you choose determines the essence of your AI voice version. A well-trained model on clean audio sounds convincing and natural, whereas a poorly trained one sounds robotic, muddy, or generic—regardless of the quality of the original vocal material. There are many community-created models available online, ranging from celebrity voice imitations to fictional character voices and individual clones. The main challenge isn't finding a model—they are everywhere—but choosing one that is truly high-quality.
Where to Find Pre-trained Voice Models
The RVC community has created a huge library of freely available voice models. Quality varies significantly from upload to upload, so knowing where to look will save you hours of frustration. Here are the most reliable sources:
Weights.gg is the largest dedicated repository for RVC voice models. It features community ratings, audio previews, download counts, and metadata such as model version, training epochs, and sampling rate. If you are looking for a voice model for a specific artist or character, start here to find the widest selection and the most transparent quality indicators.
Hugging Face hosts many high-quality models from serious creators who document their training parameters, data sources, and intended use cases. Find them by searching for "RVC model" or "RVC v2". Models here tend to be better documented than on other platforms.
The AI Hub Discord server is the largest RVC community server with active model-sharing channels and a dedicated voice-models forum, where creators upload their work with Hugging Face download links. You can listen to audio samples directly in the posts, and if you don't find what you need, the #request-models channel allows you to ask the community to create a model for free.
If none of these sources have the voice you need, you can train your own model from scratch using 10 to 30 minutes of clean, isolated vocal audio and a GPU with at least 6 GB of VRAM. Tools like Applio handle the training process, although mastering them is more complex than simply downloading a ready-made model.
Explanation of Voice Models for Celebrities and Characters
Voice models are divided into clear categories, each with its own areas of application and specific quality requirements. For example, a cloned celebrity voice model trained on hours of high-quality studio recordings generally outperforms a cartoon character voice model built from compressed television audio. Understanding these categories helps set realistic expectations for the final result.
| Category | Example Use Cases | Standard Quality | Where to Find |
|---|---|---|---|
| Celebrity | Drake singing country, Adele performing metal, and Frank Sinatra doing modern pop | High level (large amount of high-quality training data available) | Weights.gg, Hugging Face, AI Hub on Discord |
| Anime | Voice generators for Hatsune Miku: background accompaniments and new versions of anime character songs | Medium–high quality level (depending on the quality of the source audio) | Weights.gg — specialized communities for anime model fans |
| Cartoon | AI vocal versions of SpongeBob songs, ballads performed by an AI Peter Griffin voice, musical mashups featuring an AI Sonic voice | Medium level: limitations of television signal audio compression negatively affect the quality of training data. | Weights.gg, AI Hub on Discord, Reddit forum r/RVC |
| Custom-made | Your own voice, a friend's voice, or an original character's voice | Variable (entirely depends on your training data and the processing method used) | Trained offline using Applio software or similar tools. |
Recognition and synthesis voice models based on celebrity samples usually yield the most convincing results because famous singers have an extensive catalog of professionally recorded and well-isolated vocal samples available for training. In contrast, models for dubbing cartoons and anime may produce ambiguous results: for instance, a SpongeBob voice model trained on an audio track from a remastered Blu-ray disc will perform much better than one trained on clips from low-quality YouTube videos. The Peter Griffin voice category in artificial intelligence systems is popular for creating comedic parody versions of songs; however, due to the excessive, exaggerated style of diction, such models are best suited for humorous content rather than serious musical projects.
How to Evaluate Model Quality Before Using It
Downloading every model that catches your eye is a waste of time. A few quick checks are enough to filter out low-quality downloads before you even start using them.
- Check the duration of the training data. Models trained on 15-40 minutes of clean audio generally sound the best. Less than 5 minutes of training data yields weak, monotonous results.
- Look for version 2 models. RVC v2 uses 768-dimensional feature vectors compared to 256-dimensional ones in version 1, allowing it to capture significantly more vocal details. Always prefer version 2 if available.
- Ensure the .index file is included. The .index file contains a searchable database of real acoustic patterns of the target voice. Models distributed without it sound noticeably more monotonous and less accurately match the original speaker's voice.
- Read the description. Reliable uploads specify training parameters such as the number of epochs, f0 extraction method (RMVPE is currently the best), and sampling rate. A model described as "trained on 25 minutes of clean vocals, 300 epochs, RMVPE, 40 kHz" indicates that the creator knew what they were doing.
- Listen to demos. Platforms like Weights.gg often include audio previews. Five seconds of listening will tell you more than any written description about how convincingly the model conveys the target voice.
- Check community feedback. The number of downloads, ratings, and comments show whether other users have achieved good results. High engagement usually correlates with higher quality.
The quality of a voice modeling module depends entirely on the data it was trained on and the thoroughness of the training approach. Spending just five more minutes evaluating it before downloading can help you avoid failed conversions and save you from having to start over.
After selecting a high-quality voice model, the next question arises: which tool will you use to perform the conversion and hear your new version of the song come to life.
Step 4: Choose a Tool for AI Cover Generation
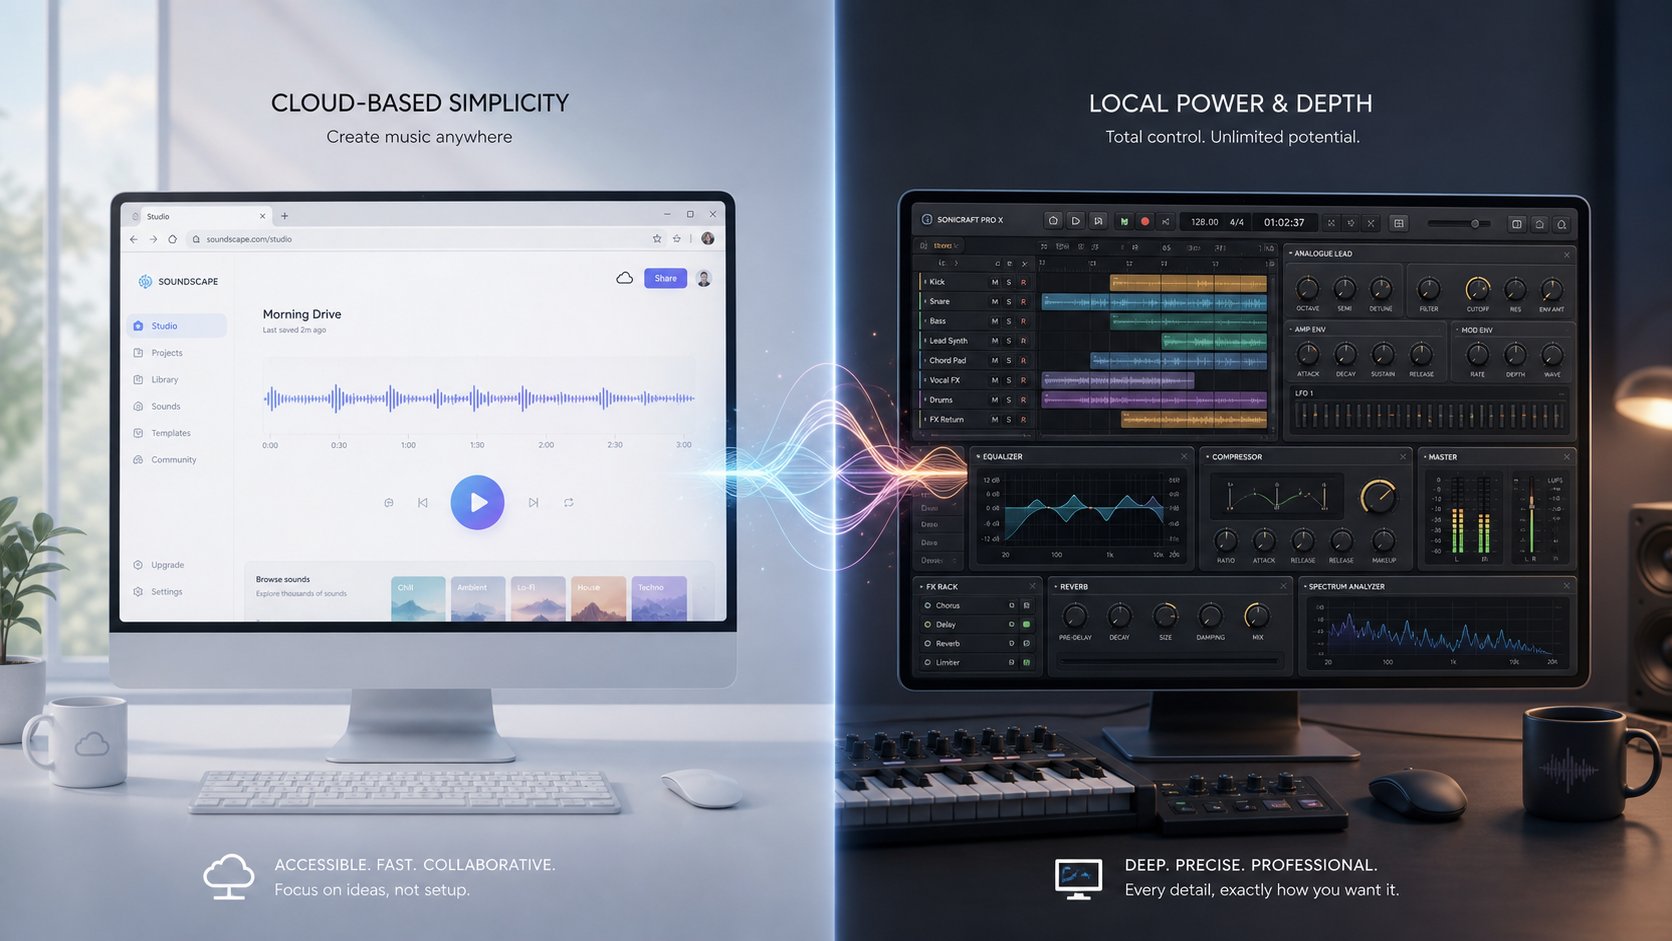
You already have a clean vocal stem and a high-quality voice model—everything is ready to go. The tool you choose to combine them will determine everything from the quality of the result to how much time you spend troubleshooting. AI cover generators fall into two main categories: web platforms that perform the heavy lifting on remote servers, and local software that you install and run on your own computer. Each approach has its pros and cons, and the right choice depends entirely on your technical skill level and goals.
Browser-Based AI Cover Tools — Ideal for Beginners
If setting up a Python environment and CUDA drivers seems completely incomprehensible to you, then browser-based tools are your fastest path to creating a finished cover version. These platforms perform voice conversion on cloud GPUs, so your personal hardware doesn't matter. You upload audio, select a voice, and get results without ever touching a terminal window.
SongAI's AI Voice Cover Generator stands out as an excellent option for users who want to quickly experiment with vocal styles. It handles track separation and voice conversion in a single workflow, allowing you to test various voice and song combinations without using multiple tools. Its simplified interface makes it particularly accessible for beginners who want to hear results before diving into a more in-depth processing workflow.
Other browser-based options include Voicify.ai, which offers a large library of community voice models and a simple upload-and-convert workflow, and Kits.AI, which is more focused on musicians who need free AI voices for original compositions. Every cover song creator in this category sacrifices some degree of granularity for convenience, but the quality ceiling has risen significantly thanks to improved cloud GPU infrastructure.
Local Software Solutions for Advanced Users
Local tools provide full control over every parameter in the conversion pipeline. RVC WebUI is the gold standard in this regard. It is free, open-source, and uses a Gradio interface where you load models, adjust pitch, configure indexes, and process audio directly on your GPU. The trade-off? You'll need a dedicated NVIDIA GPU with at least 6 GB of VRAM, a working Python environment, and patience for the initial setup. RVC's real-time capabilities are impressive once configured. The model often processes audio faster than real-time on modern GPUs, with an RTX 3060 handling conversion about 1.5 times faster than CPU-only processing.
So-VITS-SVC is another local option that uses a diffusion-based approach for higher accuracy, but at the cost of slower inference and a steeper learning curve. It excellently preserves subtle vocal nuances but requires more VRAM and longer processing times. Applio wraps the core RVC engine in a more user-friendly interface with built-in training tools, making it an optimal solution for users who want local control without working directly with the command line.
Which Method Suits Your Skill Level?
The table below lists the most popular options in both categories so you can choose the cover song creator that perfectly matches your specific needs.
| Tool Name | Method | Ease of Use | Quality Ceiling | Cost | Best For |
|---|---|---|---|---|---|
| SongAI | Browser | Very Easy | High | Free and Premium tiers | Beginners who want to quickly achieve visible results and experiment with singing styles. |
| Voicify.ai | Browser | Easy | High | Free plan / Paid subscription | Non-specialist users exploring large model libraries. |
| Kits.AI | Browser | Easy | Medium-High | Free plan / Paid subscription | Musicians looking for royalty-free licenses for AI-generated voices |
| RVC WebUI | Local | Moderate | Very High | Free open-source software | Advanced users who want full control over all parameters. |
| Applio | Local | Moderate | Very High | Free open-source software | Intermediate users who also want to train their own models. |
| So-VITS-SVC | Local | Difficult | Very High | Free open-source software | Audio engineers prioritizing maximum fidelity to the original vocals. |
A practical approach? Start with a web-based AI cover generator to test song selection and voice models. If the results impress you and you want more precise control, move to a local AI cover generator like RVC WebUI or Applio. Many experienced creators use both tools: web platforms for quick prototyping and local software for final high-quality versions.
No matter which tool you choose, the real magic happens in the settings you configure during the conversion stage. Standard parameters yield decent results, but understanding how each control affects the output allows you to create not just satisfactory, but truly convincing covers—ones that genuinely fool listeners.
Step 5: Run voice conversion and adjust parameters
Default settings produce average results. Each combination of voice model and source song reacts differently to conversion parameters, and understanding what each setting controls is the difference between a flat, robotic result and a cover that makes people do a double take. Whether you are learning to create an AI song cover for the first time or refining your hundredth project, these parameters deserve your attention.
Key voice conversion parameters: detailed description
When using RVC-based tools for voice conversion, you will encounter several settings that directly affect the final result. Below is a description of the function of each and an explanation of their importance:
Pitch shift (transposition) adjusts the tonal register of the converted voice. Negative values lower the pitch, while positive values raise it. In most cases, this parameter needs to be adjusted to match the natural range of the target voice model. For example, when converting a female voice to a male voice, a typical shift is an interval of –6 to –12 semitones. Decimal values such as –4.3 are supported for fine-tuning.
Index rate (search feature ratio) Determines the degree to which the model's .index file influences the final audio result. The .index file contains real acoustic patterns from the target speaker's training data—essentially, a unique "fingerprint" of their timbre. The higher the parameter value, the more of these preserved characteristics are taken into account during conversion, and the closer the resulting sound is to the original speaker's voice. Low parameter values reduce this influence, which can be useful if the .index file contains noise or artifacts caused by imperfect training data.
Volume envelope (remix mix coefficient) Determines whether the output signal matches the volume of the source audio or the volume of the model's original training data. The closer the value is to 0, the more the dynamics of the original signal are preserved; the closer it is to 1, the more the volume adapts to the characteristic volume profile of the model. For most AI song cover projects, it is recommended to keep this value close to 0 to preserve the natural dynamics of the original performance.
Protect voiceless consonants This function suppresses breathing sounds that can cause distortion during audio signal conversion. Reducing the parameter value increases the suppression of breathing noise, but excessive reduction causes the voice to sound unnatural and parts of words to be lost due to signal clipping. A value of 0.5 completely disables this function.
| Parameter | Function | Recommended range | Too high | Too low |
|---|---|---|---|---|
| Pitch shift | Adjusts vocal register to achieve desired timbre. | from minus 6 to plus 6 semitones | "Chipmunk" effect — unnatural strain | Dull, unnaturally deep tone |
| Index rate | Regulates the influence of the model's preserved vocal characteristics | from 0.3 to 0.75 | Introduces noise and artifacts from training data. | Generic output format lacking the target voice identifier. |
| Volume envelope | Adjusts the output volume level considering the input signal and model parameters. | from 0 to 0.25 | Unnatural volume fluctuations, disruption of sound dynamics | None (0 simply preserves the original volume level). |
| Protect consonants | Prevents breathing artifacts | from 0.33 to 0.5 | Function disabled (0.5); breathing artifacts remain. | Robotic way of clipping consonant sounds |
Recommended settings for your first AI cover
If you are learning to create an AI song cover and looking for a reliable starting point, the following parameters work well for most voice models:
- Pitch Shift: Start at 0 if the source and target voices have a similar range. Adjust in steps of 1-2 semitones until the pitch sounds natural.
- Index Rate: Start at 0.5. If the output audio is too noisy or has strange textures, reduce it to 0.3. If it sounds too standard, increase it to 0.7.
- Volume Envelope: Leave at 0 to preserve the dynamics of the original song.
- Consonant Protection: Set to 0.33 as a starting point. Decrease it only if you hear distracting breathing sounds.
- Pitch Extraction Algorithm: Use RMVPE. It is fast, reliable, and handles most vocal styles well. Switch to Crepe only if you have very clean audio and want slightly more precision for soft or raspy voices.
These are not magic numbers. Every AI song cover project requires some experimentation. First, run a short 30-second clip, listen carefully, adjust each parameter one by one, and repeat the process until the resulting sound is satisfactory. Changing multiple settings at once makes it impossible to determine what improves the result and what worsens it.
How to Use Browser Tools for Quick Conversion
Local software solutions like RVC WebUI provide access to all the parameters listed above, allowing for fine-tuning of the conversion process. However, if you are using AI to create music covers and do not want to manually configure every parameter, web tools significantly simplify this task.
SongAI's AI-Based Vocal Version Generator for Songs This feature allows you to experiment with different vocal styles and quickly evaluate results without requiring a deep understanding of the technical parameters underlying the process. This makes it ideal for testing various combinations of voice and music tracks before starting the full production process in local software. You can quickly preview how your chosen voice model blends with the given track, and if the combination yields good results, proceed to use RVC for fine-tuning.
A practical workflow followed by many creators: use a browser-based tool to check the compatibility of the source song and the voice model, then switch to local software only when precise parameter tuning is required for the final, polished rendering. This saves hours on tweaking parameter combinations that initially could not sound good.
Even with perfect parameters, the raw vocal output from AI rarely sounds complete. The converted voice must blend organically into the instrumental mix, which requires a completely different set of skills.
Step 6: Final Processing and Cover Refinement
Simply converting vocals with AI and layering them over an instrumental track does not constitute a ready-made AI music cover—it is two separate elements that happen to use the same song. The vocals sound as if they were recorded in a vacuum: volume levels are mismatched, and the timbre does not match the background music. It is during the post-processing stage that these elements are combined into a single, cohesive sound reminiscent of a genuine professional recording.
Blending AI Vocals with the Instrumental Background
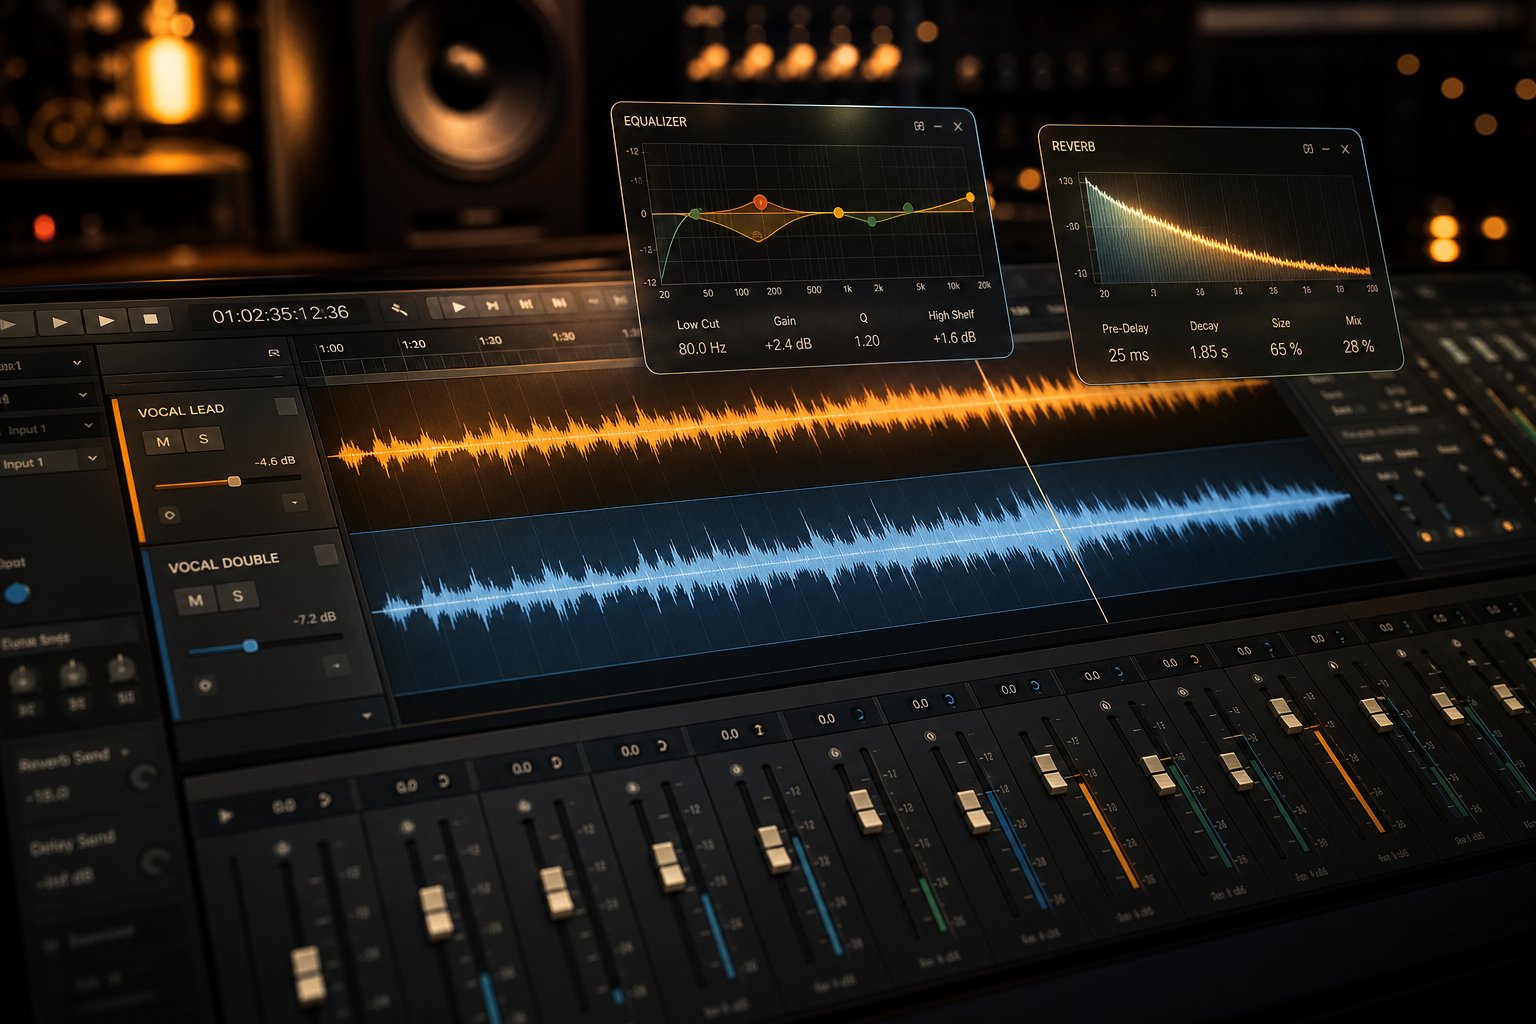
The goal here is simple: the processed vocals should sound as if they are organically woven into the instrumental part—as if both elements were recorded during the same session. To achieve this, you need to carefully balance the volume, correctly position the vocals in the stereo field, and account for their spatial placement in the soundscape. Follow this workflow to turn a raw recording into a professional audio cover.
- Import both tracks into your DAW. Place the AI vocals and the separate instrumental part on separate tracks. Align them at the same starting point to ensure synchronization remains intact.
- Adjust the initial volume balance. Lower the vocal fader until it sits slightly below the instrumental part, then slowly raise it until the voice is audible without drowning out the music. Good vocals should be slightly forward in the mix but never dominate it.
- Pan the vocals to the center. Lead vocals should be positioned exactly in the center of the stereo field. Your instrumental part should already have its own stereo distribution from the original mix.
- AI vocals often have unnaturally consistent dynamics. A light compressor (ratio 2:1, medium attack, medium release) smooths out any remaining peaks, allowing the performance to breathe naturally.
- Add EQ to shape the frequency space. Cut competing frequencies in the instrumental part where the vocals need space, usually in the 2-5 kHz range. This prevents the voice from clashing with guitars, synthesizers, or other mid-range elements.
- Apply reverb and delay to match the track's space. This is the most important step to make the vocals sound like an integral part of the song rather than just being layered on top of it.
- Normalization and Export. Bring the final mix to a peak value of -1 dB or an integrated loudness of -14 LUFS for streaming platforms, then export to WAV or high-quality MP3 format.
Key EQ and Reverb Settings for a Natural Sound
EQ and reverb play a key role when blending AI-synthesized vocals with a music track. Without them, even a perfect voice conversion sounds like someone trying to sing a cover while holding a phone speaker directly against a column.
Equalization approach: Start by applying a high-pass filter to the vocals in the 80-100 Hz range to remove low-frequency rumble that muddies the mix. Then, make a slight cut in the 200-300 Hz range if the voice sounds "boxy." A small boost in the 3-5 kHz range adds clarity and presence. As Sonarworks notes, frequency correction with additional EQ manipulation, boosting in the vocals what you have slightly attenuated in competing instruments, is especially important in the 2-5 kHz range, where vocals and instruments compete for dominance.
Reverb approach: The key point is to send both the vocals and the main instruments to the same reverb bus. This places everything in a shared acoustic space, which makes the mix sound like a real recording rather than a collage. Use plate or room reverb with a decay time of 1.0 to 2.5 seconds, depending on the song's tempo. Cut low frequencies below 200 Hz from the reverb using a high-pass filter to avoid "muddiness," and cut high frequencies above 8-10 kHz to keep the reverb tail smooth rather than harsh.
Adjust the reverb send level until you can barely perceive it, then reduce it slightly. Reverb should be felt more than heard. If listeners notice the reverb, there is too much of it.
Free tools for post-processing covers
To record high-quality versions of songs in the AI Cover Music style, you don't necessarily need to use a professional $600 DAW—there are many free solutions that allow you to implement all the tasks described above.
- Audacity is a free, cross-platform program that supports basic equalization, compression, reverb, and volume normalization. The Filter Curve EQ feature allows you to visually shape frequencies. The interface is not sophisticated, but it covers all the necessary post-processing tasks for a vocal cover project.
- GarageBand (macOS/iOS only) offers a more intuitive multi-track environment with built-in reverb, equalizer, and compression plugins. The visual mixer makes balancing vocals and instrumental parts more accessible to non-audio professionals.
- Cakewalk by BandLab (Windows) is a full-featured professional DAW available completely free. It includes advanced mixing tools, automation, and plugin support that rival paid software.
Whichever tool you choose, the basic principle remains the same: treat AI-generated vocals exactly as you would treat a human vocal recording. Give it enough space in the frequency spectrum, place it in a convincing acoustic environment, and align its dynamics with the energy of the instrumental accompaniment. It is these small but thoughtful steps that turn a novelty experiment into a genuine musical AI cover capable of truly deceiving listeners.
Of course, not every conversion process succeeds on the first try. If the result sounds wrong despite correct settings and quality source material, a systematic troubleshooting approach will help avoid the need to start over without meaningful analysis.
Step 7: Troubleshooting common AI cover issues
You've completed all the steps, adjusted the parameters, and hit "convert." The result sounds... wrong. Perhaps the voice crackles on sustained notes, or a metallic sheen appears in the output that screams, "Made by a computer." Knowing how to create AI song covers is one thing. But knowing how to act when the result is unsatisfactory distinguishes those who give up from those who achieve convincing results.
Most problems boil down to a few main causes. The table below describes the issues you are most likely to encounter and how to resolve them:
| Problem | Likely Cause | Solution |
|---|---|---|
| Robotic, metallic vocal timbre | Instrumental background noise in the vocal signal entering the model as non-vocal frequencies. | Repeat the vocal separation step using a higher-quality model (MDX-Net in UVR). Ensure the isolated vocal contains no audible musical instruments before conversion. |
| Pitch warbling or unstable notes | The pitch extraction algorithm struggles to process the vocal signal due to its style or sound quality characteristics. | Switch from the Harvest algorithm to RMVPE for pitch extraction. If you are already using RMVPE, ensure the source vocal does not contain strong vibrato or pitch correction artifacts. |
| Pronounced sibilance or "foamy" bright high frequencies | The index rate is set too high, causing noisy characteristics from the training data to be included in the output. | Lower the base percentage to 0.3–0.4. Apply a de-esser tuned to the 5–8 kHz frequency range during the post-processing stage. |
| Dull sound with low playback quality | The source audio file has a low bitrate (128 kbps MP3 or worse), leading to loss of high-frequency details required by the model. | Replace the source file with a WAV file or a 320 kbps file. Under no circumstances convert audio extracted at low quality. |
| Unnatural breathing sounds or crunchy noises | A consonant protection value that is too low leads to clipping of transient signal components during conversion. | Increase the consonant protection value to the 0.33–0.4 range. Alternatively, manually isolate and remove breathing sounds from the source vocal signal before conversion. |
| The voice bears no resemblance to the target sample. | Mismatch between the model's vocal range and the original song: the vocal range of the source track significantly exceeds the range for which the model was trained. | Adjust the pitch shift so that the source voice approaches the model's natural register. If the shift exceeds 6 semitones, it is better to choose a different song and model pair. |
| Distorted or unintelligible output when displaying individual words | Overlapping vocal parts or harmonies in the source material that the model attempts to process simultaneously. | Use a source track with a single clean lead vocal. Perform a second stem separation processing step to remove background vocal parts before conversion. |
Fixing robotic artifacts and audio glitches
Robotic artifacts are the most common complaint, and they almost always indicate a problem in the system rather than the voice model itself. According to Sonarworks' research on AI voice artifacts, these anomalies occur when algorithms excessively quantize vocal characteristics, removing the micro-variations that make human voices sound natural. In the context of AI-generated song covers, the usual culprit is a contaminated input signal: instrumental frequencies leaking into the vocal track are interpreted as vocal data, creating a characteristic metallic sheen.
If the track separation looks clean, but the output still sounds artificial, check the index value. Raising it above 0.75 forces the model to rely heavily on preserved patterns from training data, which can lead to noise and textural artifacts from low-quality training recordings. Lowering it to 0.4-0.5 often improves the situation immediately. For persistent issues, gentle parametric EQ cutting in the 2-5 kHz range during post-processing can soften the harshest digital artifacts without dulling the vocals.
Troubleshooting pitch and vocal mismatch issues.
Pitch glitches manifest as unstable notes, sudden octave jumps, or strained sounding in high passages. This happens when the pitch extraction algorithm loses track of the fundamental frequency, especially in breathy phrases, vocal runs, or notes with strong vibrato. RMVPE reliably handles most singing styles, but may still stumble on extremely fast melismatic passages or whispered sections where the pitch signal is weak.
Vocal mismatch is a different story altogether. When learning how to make AI song covers, there is a temptation to forcibly combine incompatible things: a deep baritone onto a soprano or a gentle acoustic voice onto an aggressive rap performance. These combinations require extreme pitch shifts that distort formants beyond recognition. The solution lies not in tweaking parameters, but in choosing a more suitable pair. If you need to shift more than five or six semitones for the combination to work, the song and model are simply incompatible. Choose a track closer to the model's natural range, and the conversion will sound significantly more convincing without any extra effort.
When to start over and when to fix errors after project completion
Not every problem is worth fixing. A useful rule: if the issue is audible on more than 30% of the track, start over with different settings or a different source file. Post-processing can fix individual glitches, one distorted note, a short click, or a slightly harsh fragment. But if the entire vocal sounds robotic or the pitch constantly wavers, no amount of EQ and reverb will save the situation. It is better to rerun the conversion with adjusted parameters or completely reconsider your "song-model" pair.
For those trying to create song covers that truly fool listeners, willingness to iterate is everything. Professional results are rarely achieved in a single pass. Expect to run two or three conversions with slightly different settings before finding a version that works for you. Treat each attempt as diagnostic information rather than failure, and you will reach a quality result faster than you expect.
Troubleshooting will get you to "good." The next level, where covers sound truly professional rather than just satisfactory, requires a different set of creative and technical strategies.

Practical tips for creating AI covers that sound professional
A technically flawless AI-generated cover and a truly impressive one differ by a few creative decisions that most guides never mention. The steps described above achieve a solid foundation. These techniques elevate your output to a level where listeners stop analyzing and start enjoying, which is the main goal if you want to learn how to create AI-generated music covers that withstand criticism.
Advanced techniques for natural sound
The biggest telltale sign of AI-generated vocals is monotonous emotional dynamics. Real singers change intensity, intentionally deviate slightly from pitch, and change timbre between verses and choruses. AI conversions tend to smooth out these micro-variations, turning them into a consistent, almost perfect performance. The essence of advanced techniques lies in counteracting this artificial polish.
- Match the key to the model's training data. Each voice model has its optimal range, the key range in which it was most intensively trained. If the original song is already in this range, you can skip pitch shifting entirely, and zero shift always yields the most natural result. Study the target artist's most common keys and choose source songs that match this range.
- Layer subtle harmonies from the same model. Run the main vocal through conversion, then process backing vocals separately with slightly different indices (lower by 0.05-0.10 compared to the main vocal). This creates the illusion of a real singer doubling their own voice, rather than a single AI render layered across multiple tracks.
- Use pitch correction sparingly on the output, not the input. Light autotune applied after conversion (with a slow retune speed of 40-60 ms) smooths out random pitch fluctuations without degrading the performance. Heavy correction before conversion confuses the pitch extraction algorithm and yields worse results.
- Automate subtle vocal volume changes. Real vocal performances get louder in choruses and quieter in verses. If your AI output has flat dynamics, manually draw volume automation curves in your DAW that reflect the song's emotional arc. These three minutes of work yield a disproportionately large difference.
- Process different song fragments independently. Verses, choruses, and bridges often benefit from slightly different conversion settings. A verse might sound best at an index of 0.4 for intimacy, while a chorus requires 0.6 for fuller presence. Split the vocal track into sections, convert each separately, and reassemble them in your DAW.
- Add a touch of saturation. A mild analog saturation plugin on the vocal bus adds harmonic overtones, mimicking the warmth of a real microphone chain. This fills in sterile gaps sometimes left after digital conversion.
These are not just theoretical recommendations. Creators producing the most convincing AI music covers on YouTube and TikTok apply various variations of all the methods listed here. The difference between their work and beginners' first experiments is not a more perfect AI system, but a more developed intuitive understanding of the production process, which emerges after the AI has already done its part.
Innovative Applications Going Beyond Simple Voice Replacement
Changing voices is just the starting point. Once you master the basic workflow, creative possibilities will unfold to their fullest.
Genre switching is one of the most impressive applications. Take a hip-hop track, slow it down, re-record or create an acoustic instrumental version, and transform the vocals into a folk singer's voice model. The result is not just a different voice in the same song. It is a completely reimagined musical piece that reinterprets the original lyrics. Some of the most popular song remakes on social media follow this exact formula, turning pop anthems into jazz ballads or country hits into electronic hits.
An AI-generated cover mashup goes even further, combining elements from multiple songs. You can extract vocals from one track, an instrumental version from another, and apply a third artist's voice model to the result. These Frankenstein creations work surprisingly well when tempo and key match, demonstrating creative vision rather than just technical skills.
Creating duets opens another door. Transform the same vocals into two different voice models, slightly pan them left and right, and you get a duet of artists who never recorded together. The key to success is choosing models with complementary tonal qualities, such as pairing a warm baritone with a bright tenor, rather than two voices occupying the same frequency space.
For producers and songwriters, AI-generated covers also serve as powerful tools for creating demos. You can present a song concept to a label or co-writer using vocals that roughly match the style of the intended performer, providing stakeholders with a much more compelling presentation than a rough vocal demo could ever offer. Recording Academy CEO Harvey Mason Jr. noted that "every" songwriter and producer he knows has used generative AI-based music tools in their work, and demo creation is one of the most common professional applications.
Free and Paid Options: What You Actually Need
Here's a sobering moment that most guides skip while trying to sell you something: you can create high-quality AI covers completely free of charge. Every important step of the process has a free option. UVR handles stem separation. RVC WebUI handles voice conversion. Audacity handles post-processing. Weights.gg provides voice models. The entire chain from source audio to finished cover costs nothing but time and a decent graphics card.
So when is it worth paying for a service? A free AI cover generator or local tools will be the optimal choice if you are just mastering skills, experimenting, or creating covers for personal or non-professional use. Paid tools justify their cost in three specific cases:
- Speed is more important to you than control. Browser-based platforms that combine separation, conversion, and basic mixing functions into one click allow significant time savings. If you frequently create covers, the time saved will pay for the subscription cost.
- You need legally licensed voices. Platforms like Kits.AI offer ethically sourced, free voice models with proper artist consent and revenue-sharing agreements. If you release covers for commercial purposes, this legal clarity is more important than any technical specifications.
- You need consistent, branded results. Training a custom voice model requires GPU time, clean datasets, and technical knowledge. Paid platforms offering custom model training as a service eliminate these barriers, which is especially useful for content creators who need a unified AI voice identity across dozens of projects.
A practical workflow for creating musical cover versions for most users involves a strategic combination of free and paid tools. Use free software at stages where maximum control is required (such as track separation or post-processing), and paid platforms where simplicity and convenience matter (such as quick vocal conversion testing or access to licensed models). There is no need to tie yourself to one ecosystem: simply choose the best tool for each stage.
The field of AI-based voice processing song creation continues to evolve rapidly. Modern voice conversion technologies can now convey not only timbre but also emotional intonations, breathing rhythm, vibrato, and phrasing; training time for customizable models has decreased from ninety minutes to less than five minutes. Tools considered advanced just six months ago are already becoming obsolete. Creators who stay at the forefront do not rush to test every new platform. They build a solid foundation in audio material preparation, model selection, and post-processing—skills that remain in demand regardless of which free or paid AI platform becomes the market leader in the future. By mastering the essence of the craft, you can easily adapt to any tools.